
 Check the
documentation
Check the
documentation Ask the
Community
Ask the
Community Take a look
at
Academy
Take a look
at
Academy Cognite
Status
Page
Cognite
Status
Page Contact
Cognite Support
Contact
Cognite Support

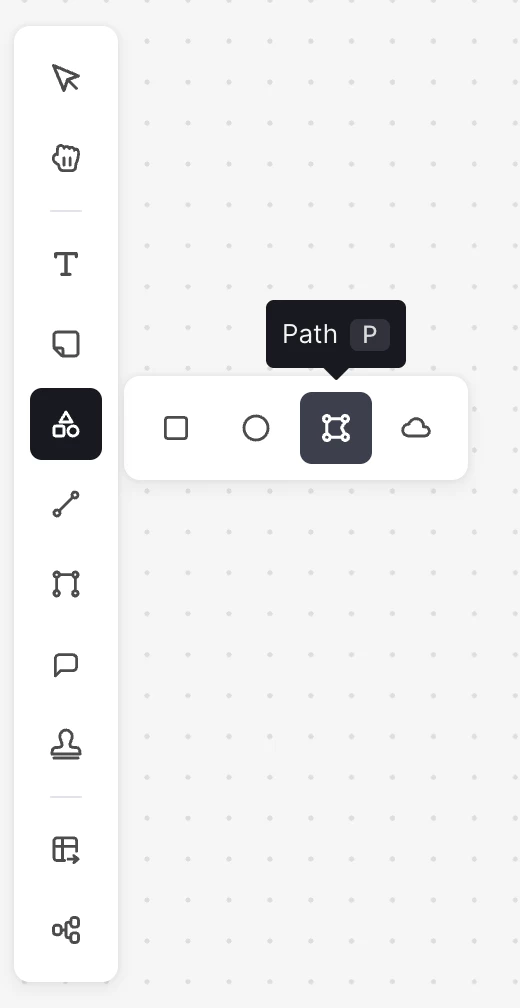
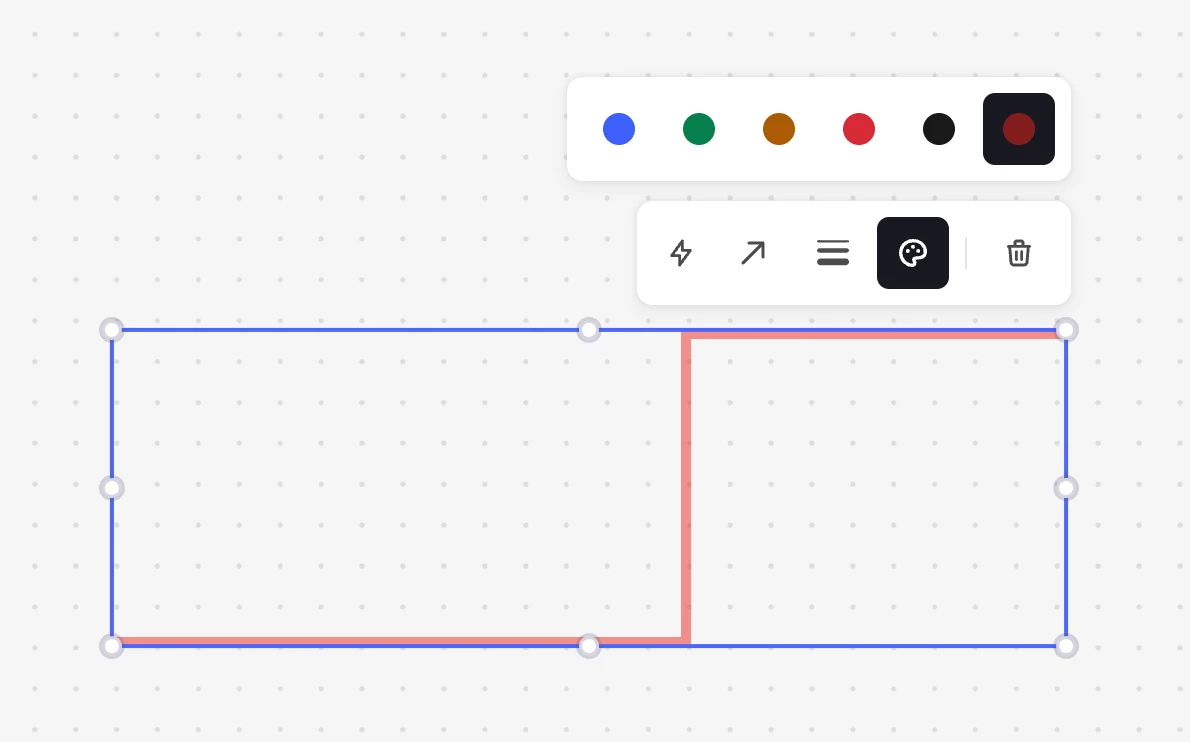
Within the Canvas Module of CDF, consider adding enhanced mark-up capabilities.
Enhancement Considerations:
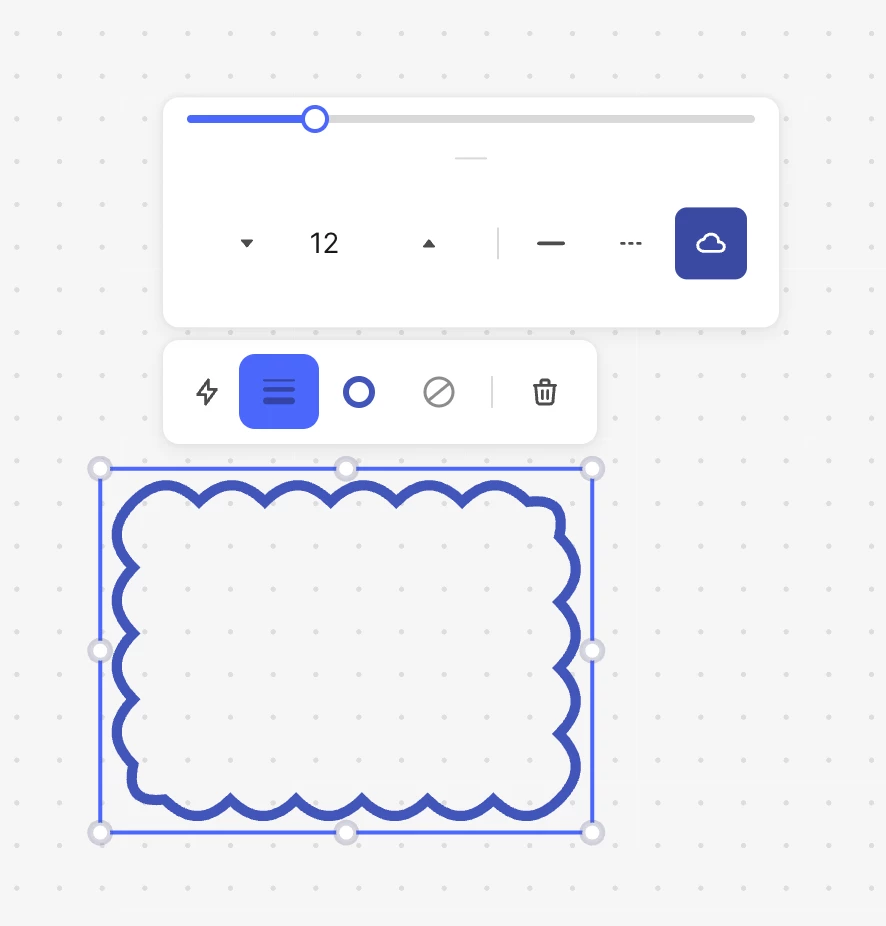
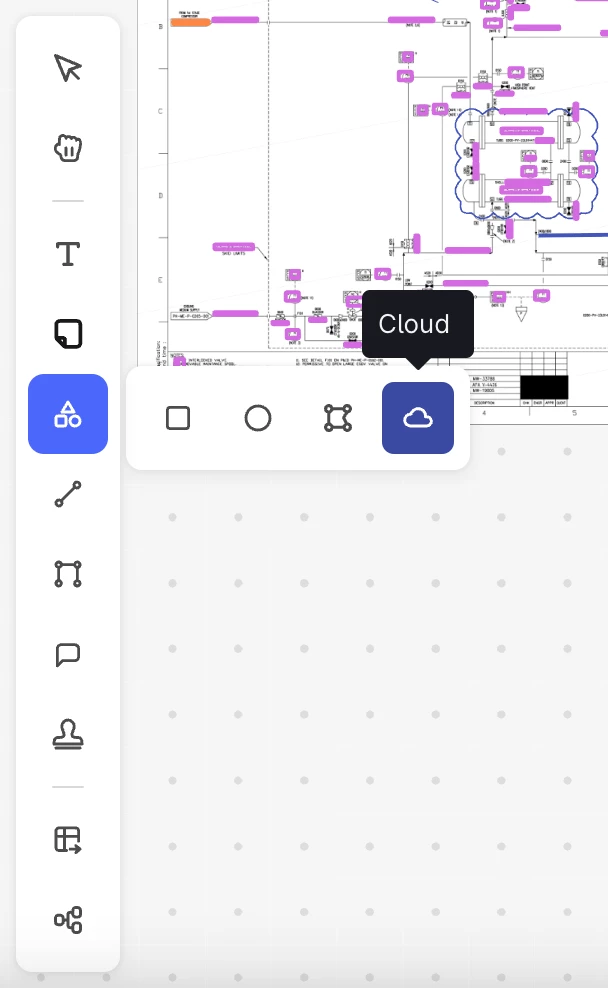
- Add Cloud polygon shape for revision indications
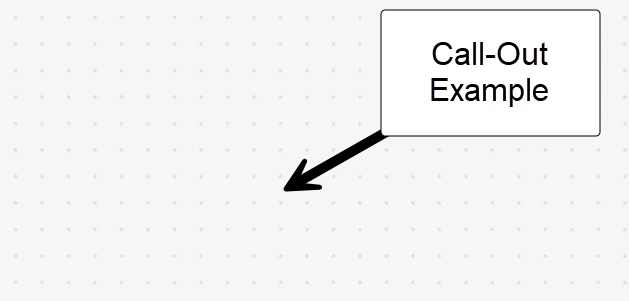
- Add Call-Out w/ Text Option (Box with Arrow)
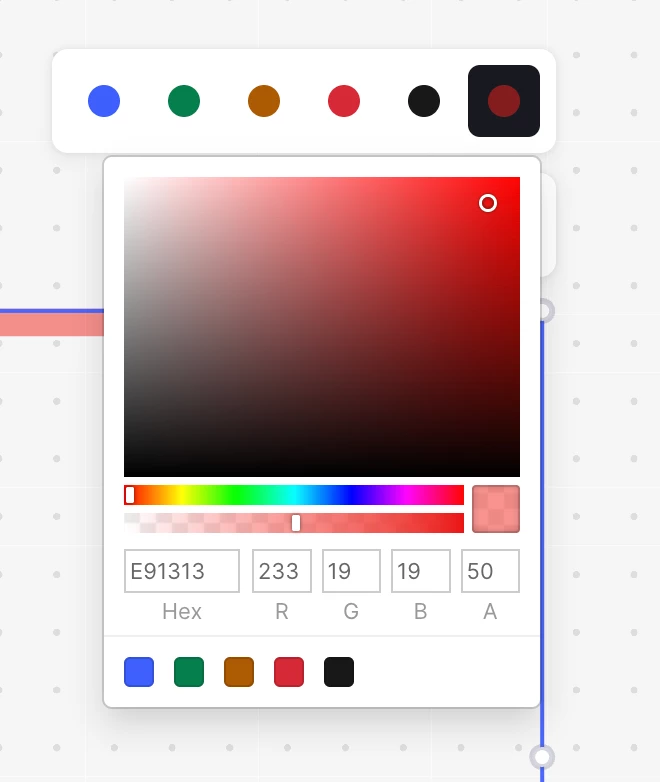
- Opacity Option for Line and Shape Objects
- Ability to add / organize user-created stamps (toolchest)
- Ability to create layers for mark-up objects (Turn On / Off)