

 Check the
documentation
Check the
documentation Ask the
Community
Ask the
Community Take a look
at
Academy
Take a look
at
Academy Cognite
Status
Page
Cognite
Status
Page Contact
Cognite Support
Contact
Cognite Support

Overview
The Atlas AI Property Extractor is a specialized ingestion tool designed to bridge the gap between unstructured documents and structured industrial data within Cognite Data Fusion (CDF). Leveraging Atlas AI agents, it automates the extraction of key technical information—such as equipment tags, metadata, and relationships—from complex documents engineering reports, and technical manuals.
This module simplifies the process of turning static documentation into a dynamic, queryable knowledge graph, enabling faster search and better data contextualization for Subject Matter Experts (SMEs).
Typical scenarios include:
- Extracting discipline, priority, or category from notification descriptions
- Populating structured fields from unstructured comments or notes
- Creating AI-generated summaries alongside original source data
- Enriching data models with values that would otherwise require manual entry
- Accumulating tags or keywords over time (append mode)
- Re-extracting properties after LLM upgrades (overwrite mode)
Key Features
- Automated Tag, Aliases,... Extraction: Identify and extract asset tags/aliases and equipment identifiers directly from technical documents.
- Atlas AI Integration: Designed to work seamlessly with the Atlas AI workspace for agentic reasoning and advanced industrial search.
Deployment (Cognite Toolkit)
Prerequisites
Before you start, ensure you have:
- A Cognite Toolkit project set up locally
- Your project contains the standard cdf.toml file
- Valid authentication to your target CDF environment
- Access to a CDF project and credentials
- cognite-toolkit >= 0.6.61
Access: You need appropriate permissions in your CDF project to enable feature flags. Contact your CDF administrator if you don't have access.
Step 1: Enable External Libraries
Edit your project's cdf.toml and add:
[library.cognite]
url = "https://github.com/cognitedata/library/releases/download/latest/packages.zip"

checksum = "sha256:795a1d303af6994cff10656057238e7634ebbe1cac1a5962a5c654038a88b078"
This allows the Toolkit to retrieve official library packages and the Data model deployment.
📝 Note: Replacing the Default Library
By default, a Cognite Toolkit project contains a
[library.toolkit-data]section pointing tohttps://github.com/cognitedata/toolkit-data/.... This provides core modules like Quickstart, SourceSystem, Common, etc.These two library sections cannot coexist. To use this Deployment Pack, you must replace the
toolkit-datasection withlibrary.cognite:
Replace This With This [library.toolkit-data][library.cognite]github.com/cognitedata/toolkit-data/...github.com/cognitedata/library/...The
library.cognitepackage includes all Deployment Packs developed by the Value Delivery Accelerator team (RMDM, RCA agents, Context Quality Dashboard, etc.).
Step 2 (Optional but Recommended): Enable Usage Tracking
To help improve the Deployment Pack:
cdf collect opt-in
Step 3: Add the Module
Run:
cdf modules add
This opens the interactive module selection interface.
⚠️ NOTE: if using cdf modules init . --clean
This command will overwrite existing modules. Commit changes before running, or use a fresh directory.
Step 4: Select the AI Property Extractor Function
(NOTE: use Space bar to select module, confirm with Enter)
From the menu, select:
Atlas AI Deployment Pack: Deploy all Atlas AI modules in one package (select with “Enter”)

  └── AI Property Extractor Function (Select with “Space bar”, confirm with “Enter”)
Step 5: Verify Folder Structure
After installation, your project should now contain:
     modules
     └── atlas_ai
         └── ai_extractor
If you want to add more modules, continue with yes ('y') else no ('N')
And continue with creation, yes ('Y') => this then creates a folder structure in your destination with all the files from your selected modules.
Step 6: Deploy to CDF
NOTE: Update your config.dev.yaml file See README.md for specific configuration parameters
Build deployment structure:
cdf build
Optional dry run:
cdf deploy --dry-run
Deploy module to your CDF project
cdf deploy
- Note that the deployment uses a set of CDF capabilities, so you might need to add this to the CDF security group used by Toolkit to deploy
- This will create/update spaces, containers, views, the composed data model, dataset, RAW resources, transformations, and workflows defined by this module.
Usage
This module is standalone and does not require other Deployment Pack modules as prerequisites.
However, it does require:
- An existing Data Model and View: The target view must already exist in CDF with the properties you want to extract and populate
- Atlas AI / Agents capability: Your CDF project must have Atlas AI agents enabled
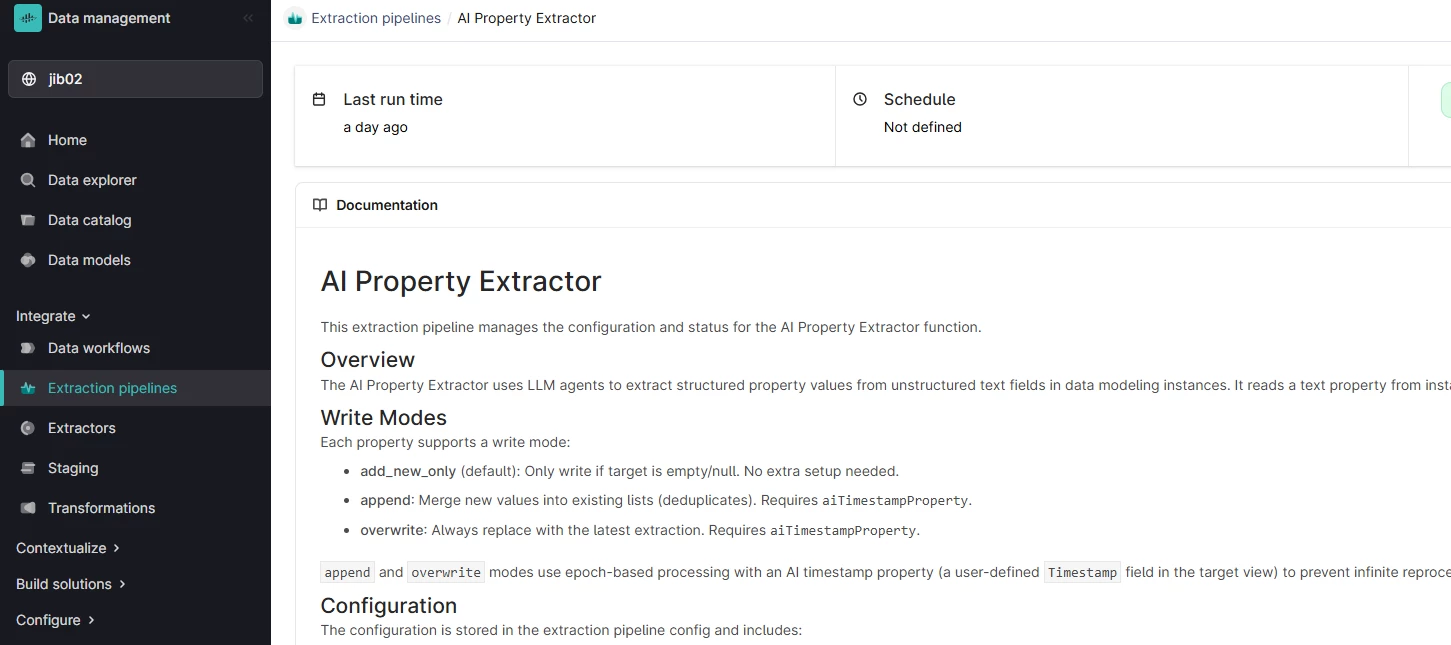
Configuration for the module is done in the AI Property Extractor pipeline. (See: README.md )
Key elements with the configuration is view and potentially target view. Target view is used when you are using append or overwrite - but can be the same as your source view. The aiTimestampProperty is used for efficient processing, preventing the same record being processed multiple times.
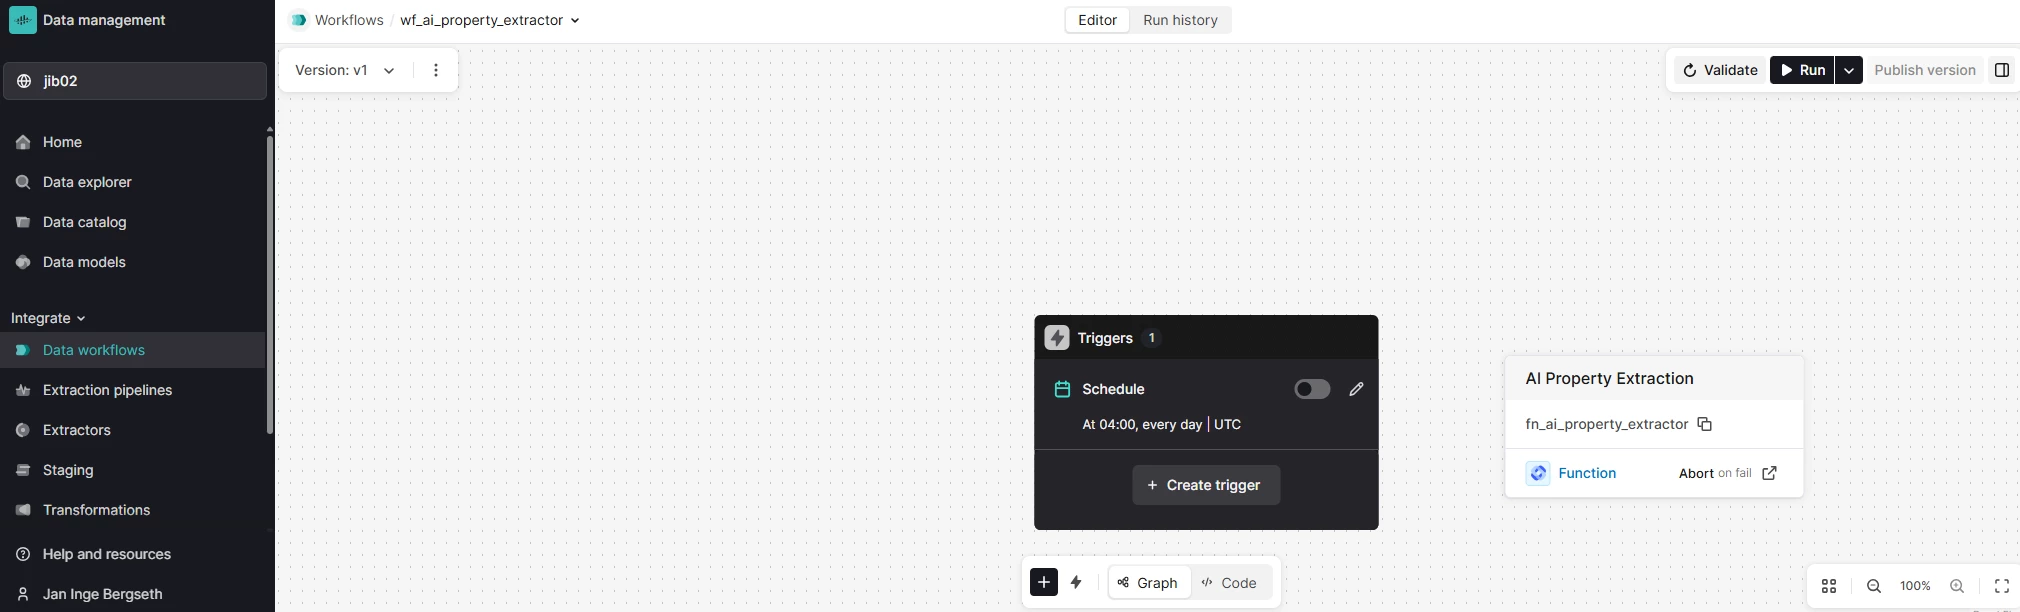
It will automatically run with the configured schedule for the Workflow, but the workflow can also be triggered manually for testing.
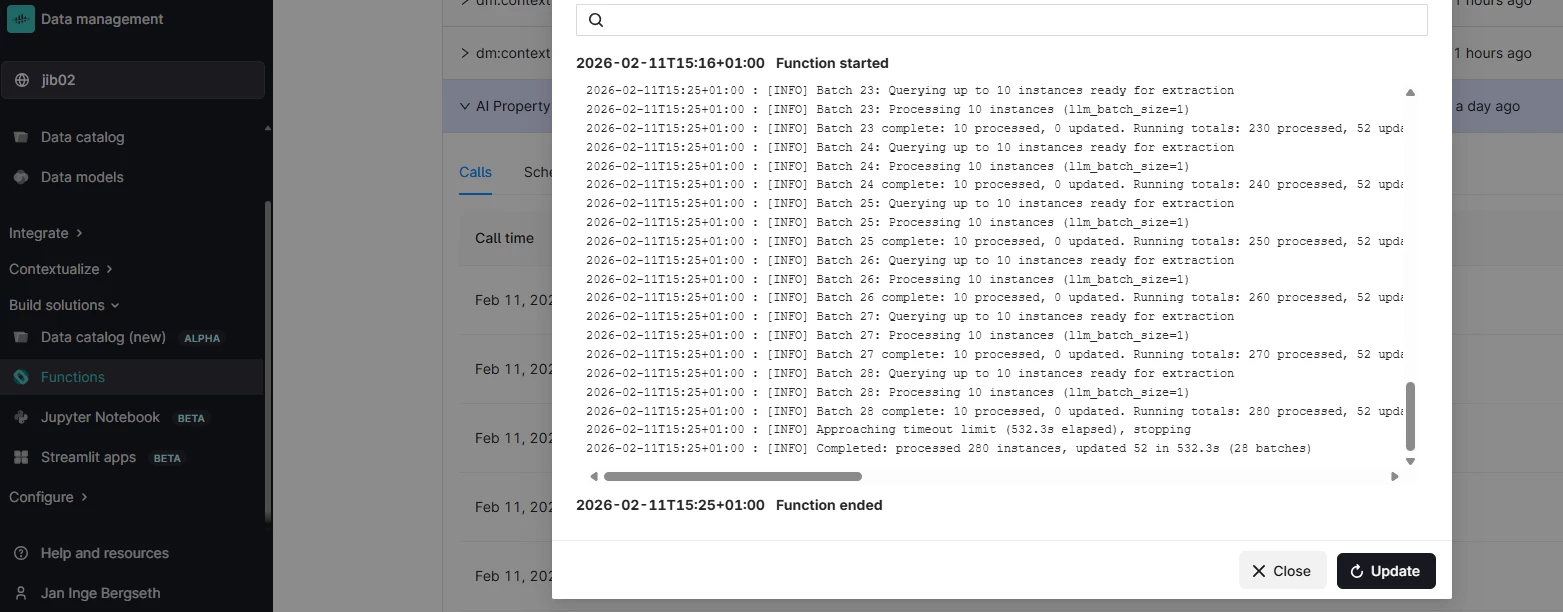
Verify your AI extraction in the Function log:
Support: For troubleshooting or deployment issues:
- Refer to the Cognite Documentation.
- Check the README.md within the module folder for specific configuration parameters.
- Contact your Cognite support team or Customer Business Executive.
- Configuration example and testing please see: TESTING.md