

 Check the
documentation
Check the
documentation Ask the
Community
Ask the
Community Take a look
at
Academy
Take a look
at
Academy Cognite
Status
Page
Cognite
Status
Page Contact
Cognite Support
Contact
Cognite Support

The Cognite PI extractor connects to the OSISoft PI Data Archive (now a part of AVEVA PI System) and detects and streams time series into Cognite Data Fusion (CDF) in near real-time. This article is dedicated to setting up, deploying and debugging a PI extractor on a Windows virtual machine. This guide is meant only as a starting point for data engineers who want to see an example of PI extractor being set up. Keep in mind that full updated documentation can always be found at the official Cognite docs page. An Academy course is also available for one of the previous versions of PI extractor. By the end of this article you will know where to find more information on the PI extractor, how to set up the configuration on a Windows virtual machine and how to do basic debugging of the extractor.
1. Setting up virtual machines
A Window virtual machine with open firewalls and connection to PI server is needed. The full list of prerequisites includes RAM, space for logging and storage, as well as required capabilities in CDF.
PI system:
- A username and password for connecting to the PI server where the data is stored
- Network access with firewall openings to the PI system
- Ensure that all PI Points have unique names
CDF:
- Network access with firewall openings to the CDF cluster and CDF project
- Make sure the correct set of capabilities is granted to the group that manages extractors. The details on that can be found in the documentation (subject to change, always refer to the latest version of docs)
Software:
- Windows Server 2016 or later
- A Windows account with admin rights to install the extractor
- Access to the Windows machine (VPN or similar)
- .Net Framework 4.8 Runtime or later
- Access to download PI AF SDK 2018 which is distributed as part of the PI AF Client 2018 SP3 Patch 3 (requires a valid PI Server license)
2. Installing the PI extractor
When you have logged into the virtual machine, open a browser and navigate to Cognite Data Fusion UI. From there log in and open the Data Management tab, then go to Extractors. Search for PI extractor in the list and open it.
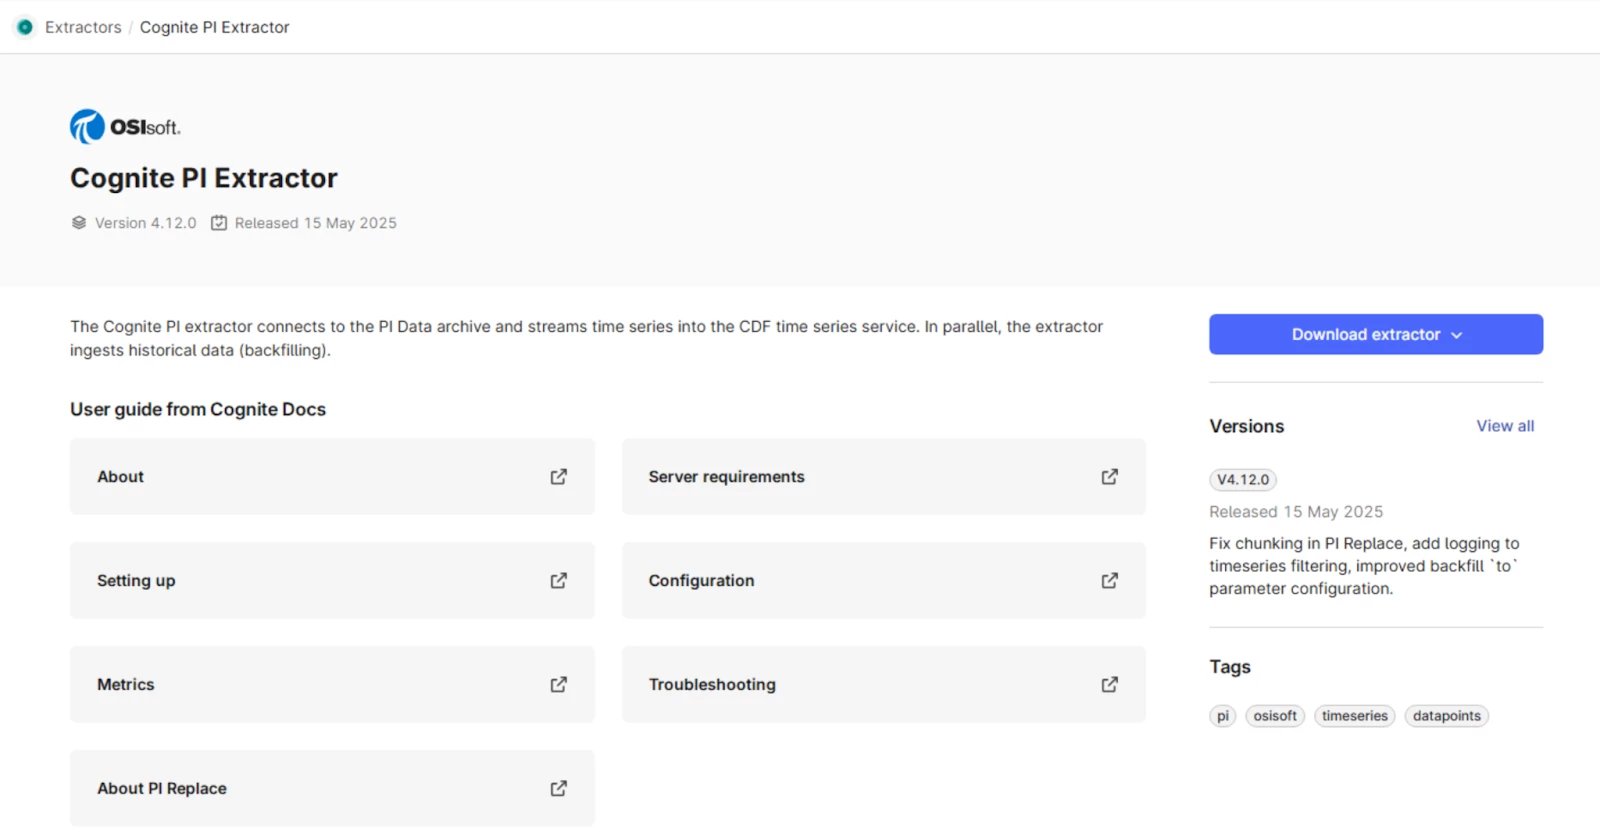
Download the Windows installer (.msi file) on the local machine. Open the file.
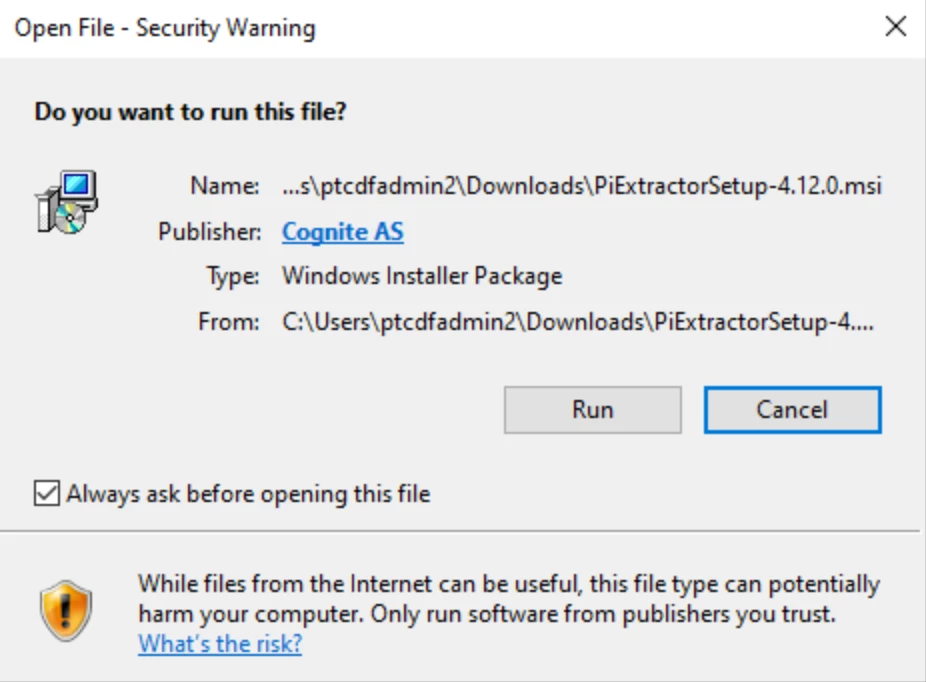
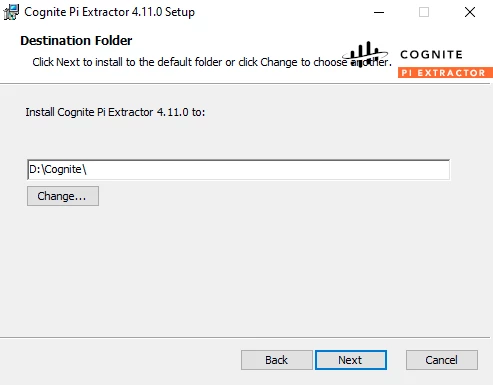
Allow the system to run the .msi file and go through the installation steps. It is recommended to use another drive for the installation. This keeps the system disk (C:\) usage to the minimum.
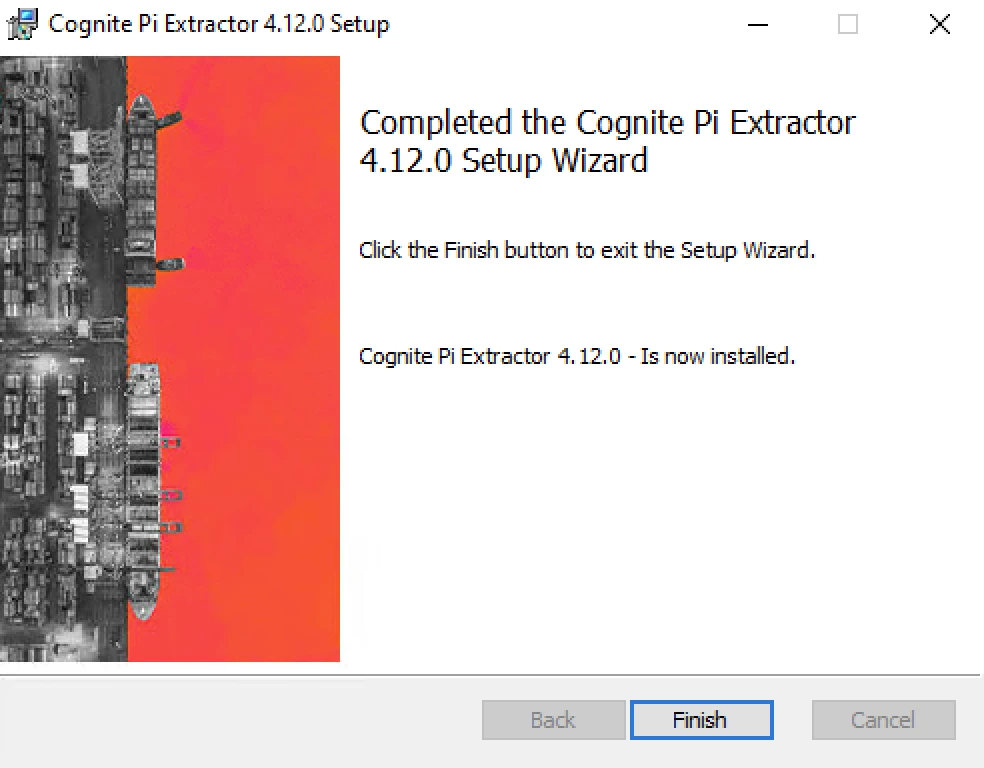
Congratulations! You have installed the PI extractor on a Windows machine.
Beware that PI AF SDK 2018 is required to proceed further.
3. Writing a local configuration file
Navigate to the PiExtractor folder inside the destination folder you chose earlier. In the folder called config, there are two examples of the configuration file used to configure the extractor and connect to CDF, config.minimal.yml and config.default.yml. Copy the minimal configuration file, place it in the same config folder and name it config.yml. This is where you will configure the extractor.
As you see from the configuration file, instead of hard-coding the values within it, system environment variables are used. Those can be created and set in Control panel → Edit the system environment variables → Advanced → Environment variables.
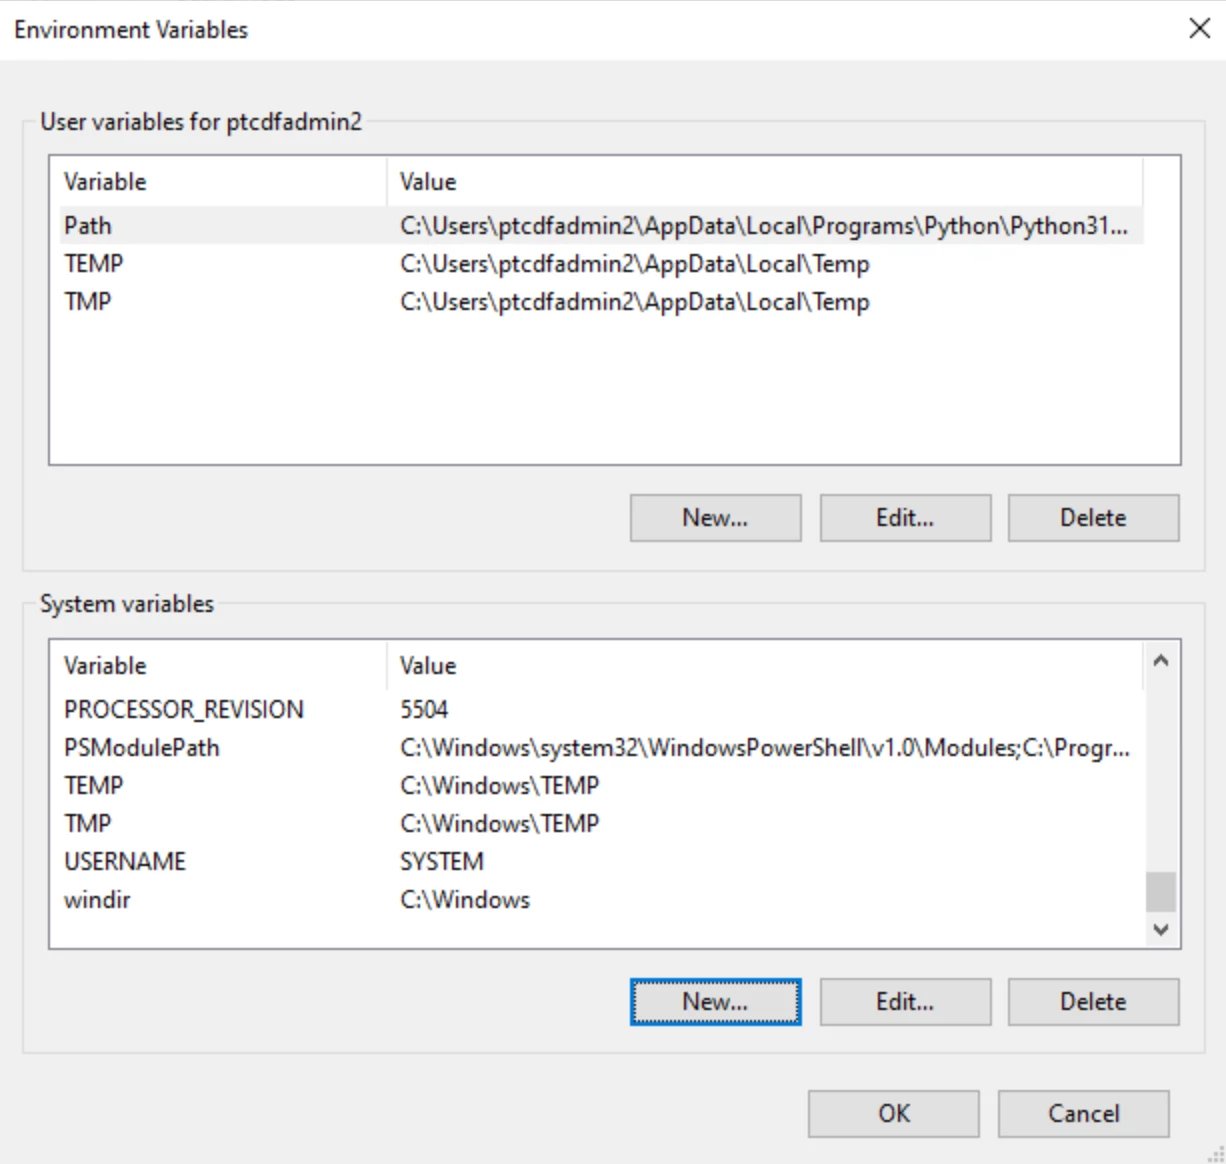
Extractor also supports loading values from Azure Key Vault but this will not be discussed here.
Once the environment variables are set, head back to the configuration file. The config.yml should include the following:
version: 3

cognite:
   project: ${COGNITE_PROJECT}
   idp-authentication:
      tenant: ${COGNITE_TENANT_ID}
      client-id: ${COGNITE_CLIENT_ID}
      secret: ${COGNITE_CLIENT_SECRET}
      scopes:
         - ${COGNITE_SCOPE}

pi:
   host: ${PI_HOST}
   username: ${PI_USERNAME}
   password: ${PI_PASSWORD}

time-series:
   external-id-prefix: 'pi:'
   space-id: 'id123456'

logger:
   file:
      level: 'DEBUG'
      path: 'D:/Cognite/PiExtractor/logs/log.log'

extractor:
   include-tags:
      - “my_pi_tag” # replace the PI tag with one from your system
- version is the version of the configuration schema. Use version 3 to be compatible with the Cognite PI extractor 2.1. Required.
- cognite is how the extractor reads the authentication details for PI and CDF from environment variables. Since no host is specified in the cognite section, the extractor uses the default value (https://api.cognitedata.com), and assumes that the PI server uses Windows authentication. Required.
- pi allows to configure the extractor to connect to a particular PI server or PI collective. Required.
- time-series configures the extractor to create time series in CDF where the external IDs will be prefixed with pi:. Space-id sets which space the CogniteTimeries instances (in CogniteCore data model) and CogniteExtractorTimeseries instances (in CogniteExtractorExtension data model) will be written to.
- logger configures the extractor to log at information level and outputs log messages to a log file in the logs/log.log directory. By default, new files are created daily and retained for 31 days. The date is appended to the file name.
- extractor allows to filter tags either by explicitly including them or by patterns.
Once you are happy with your config.yml, head to an application called Services. Locate the extractor among the services and start it.
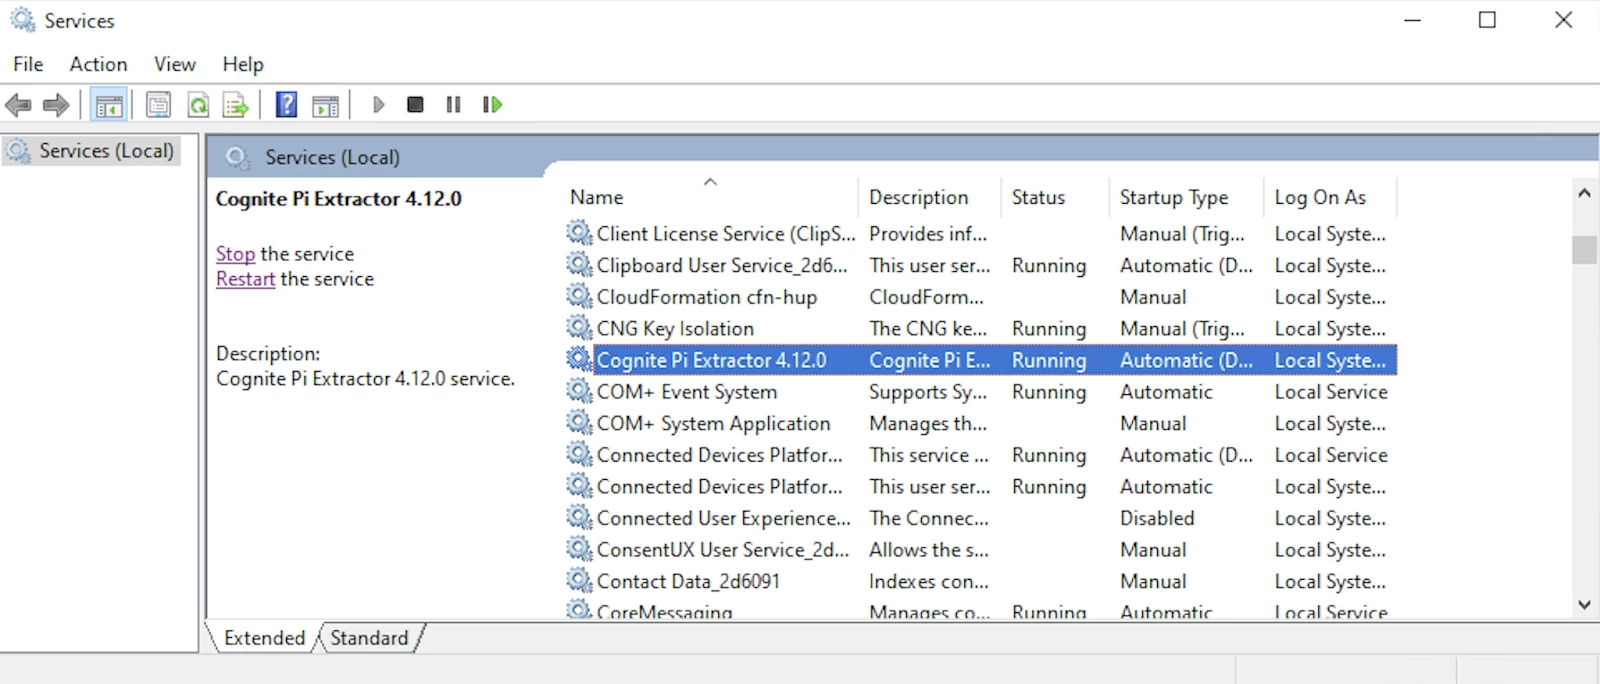
If everything works as expected, you should at this point start getting log messages. Navigate to the folder you defined in the configuration file and open the logs to check that you are able to connect to PI server. If there are no logs, refer to the debugging section below. If there are no errors in the logs and you see timeseries coming into the CDF project, we can start creating an extraction pipeline. To check that there are timeseries being written to the project, go to Data management → Data explorer or to Industrial tools → Search to verify that data is there.
4. Writing an extraction pipeline in CDF
To make sure you have reliable and trustworthy data in CDF, set up extraction pipelines to monitor the data flow. By activating automatic email notifications, you'll catch any extractor failures or data flow interruptions and can start troubleshooting using the extraction pipeline documentation.
NB! The instructions below show the way to create and manage an extraction pipeline via CDF UI. However, more experienced developers can also use Toolkit. Detailed guide on that can be found in the docs.
Steps to create extraction pipeline:
- From the
Data managementtab navigate toIntegrate → Extraction pipelines. PressCreate extraction pipeline.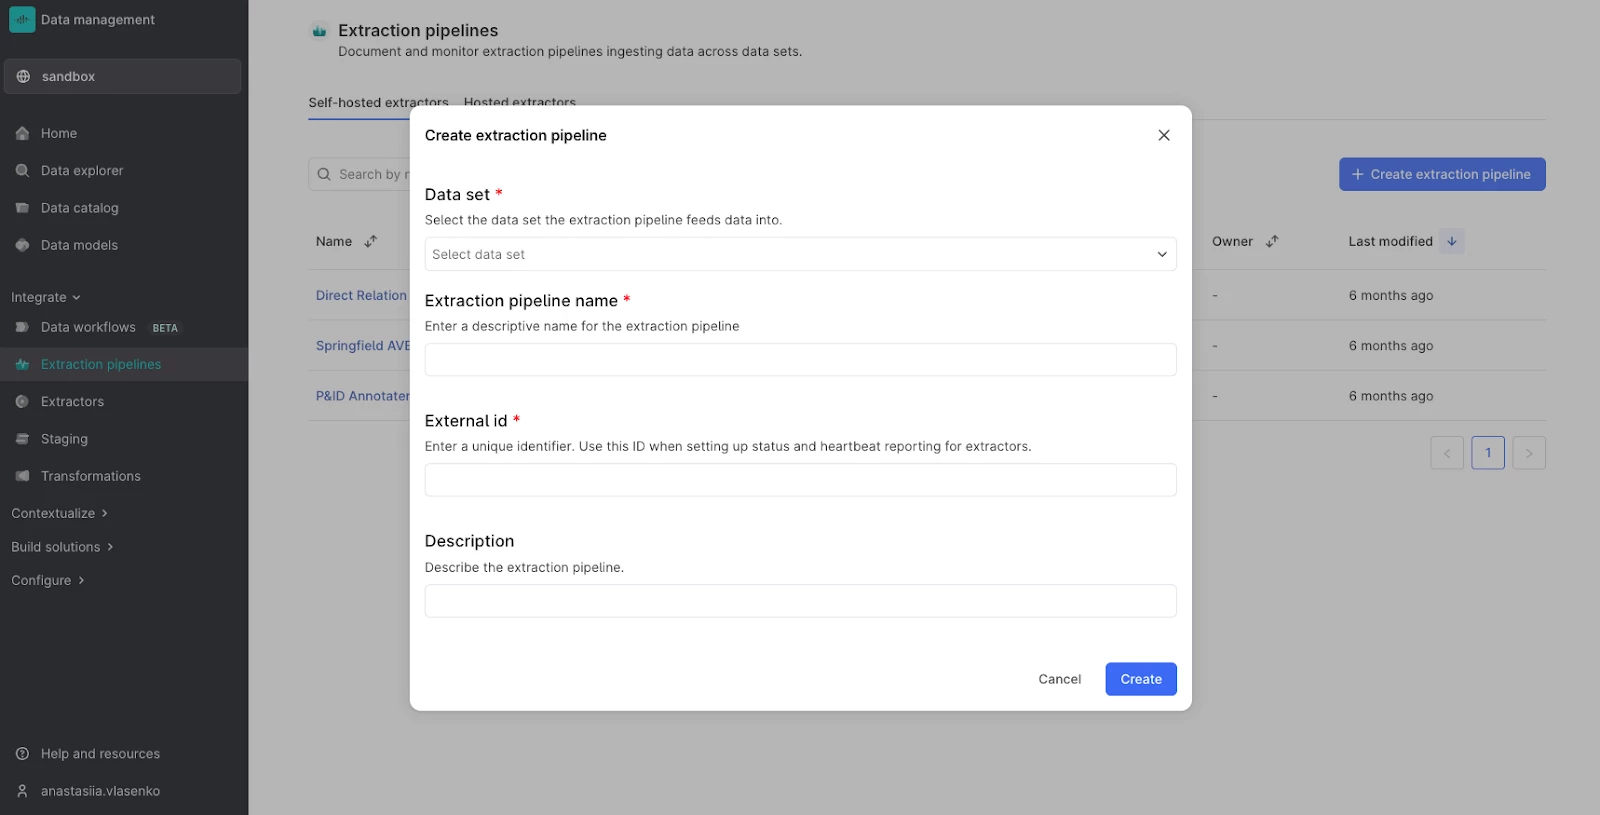
Creating an extraction pipeline - Choose the dataset to store the pipeline in. It is recommended to have a separate dataset for storing only extraction pipelines (e.g.
ds_site_extraction-pipelines). - Give your extraction pipeline an unique name and external ID.
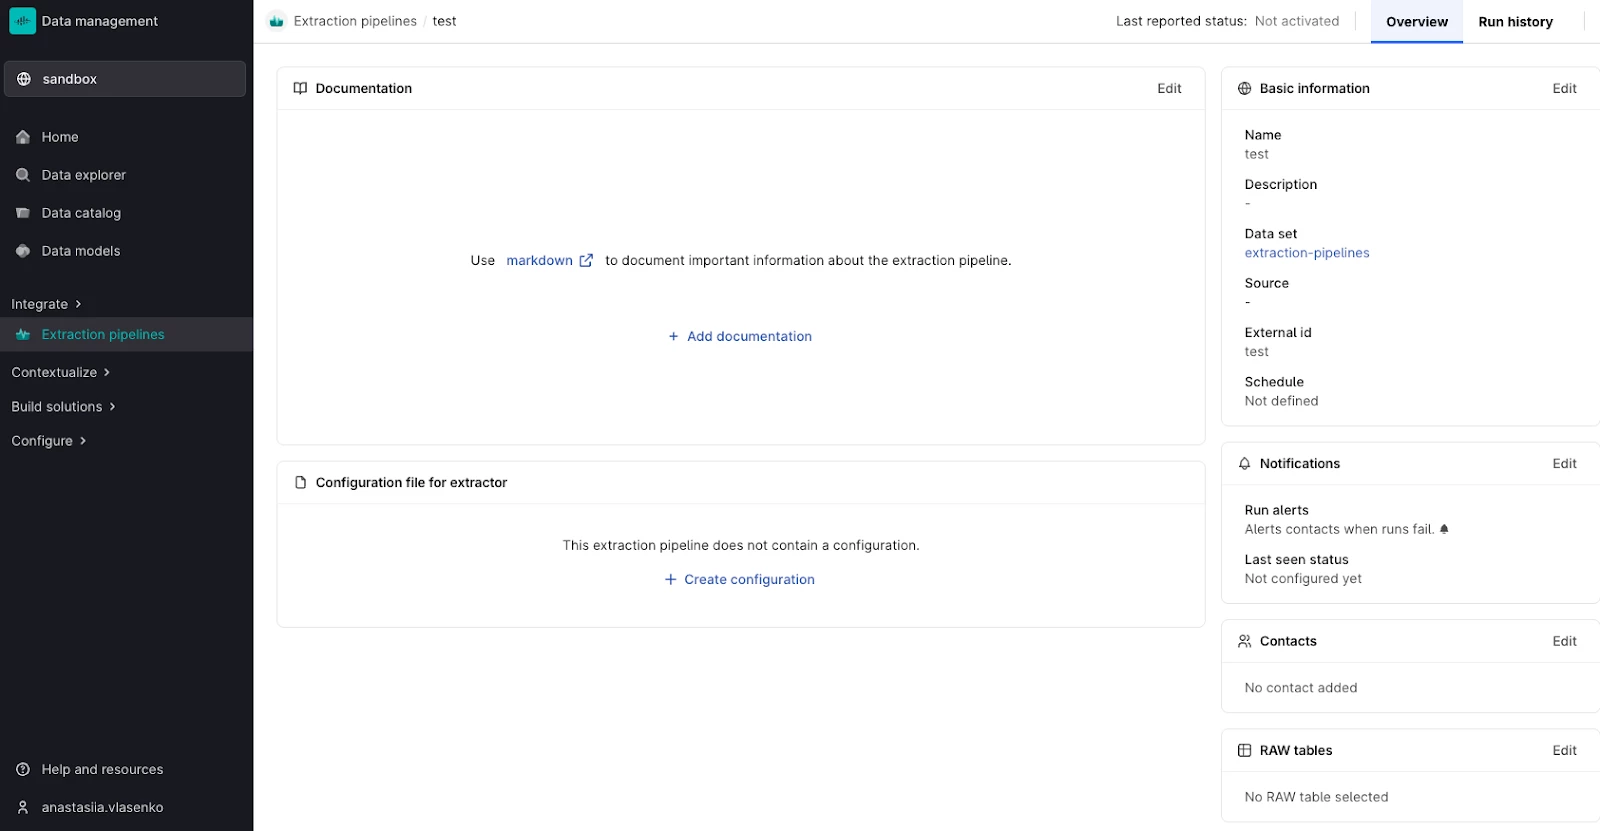
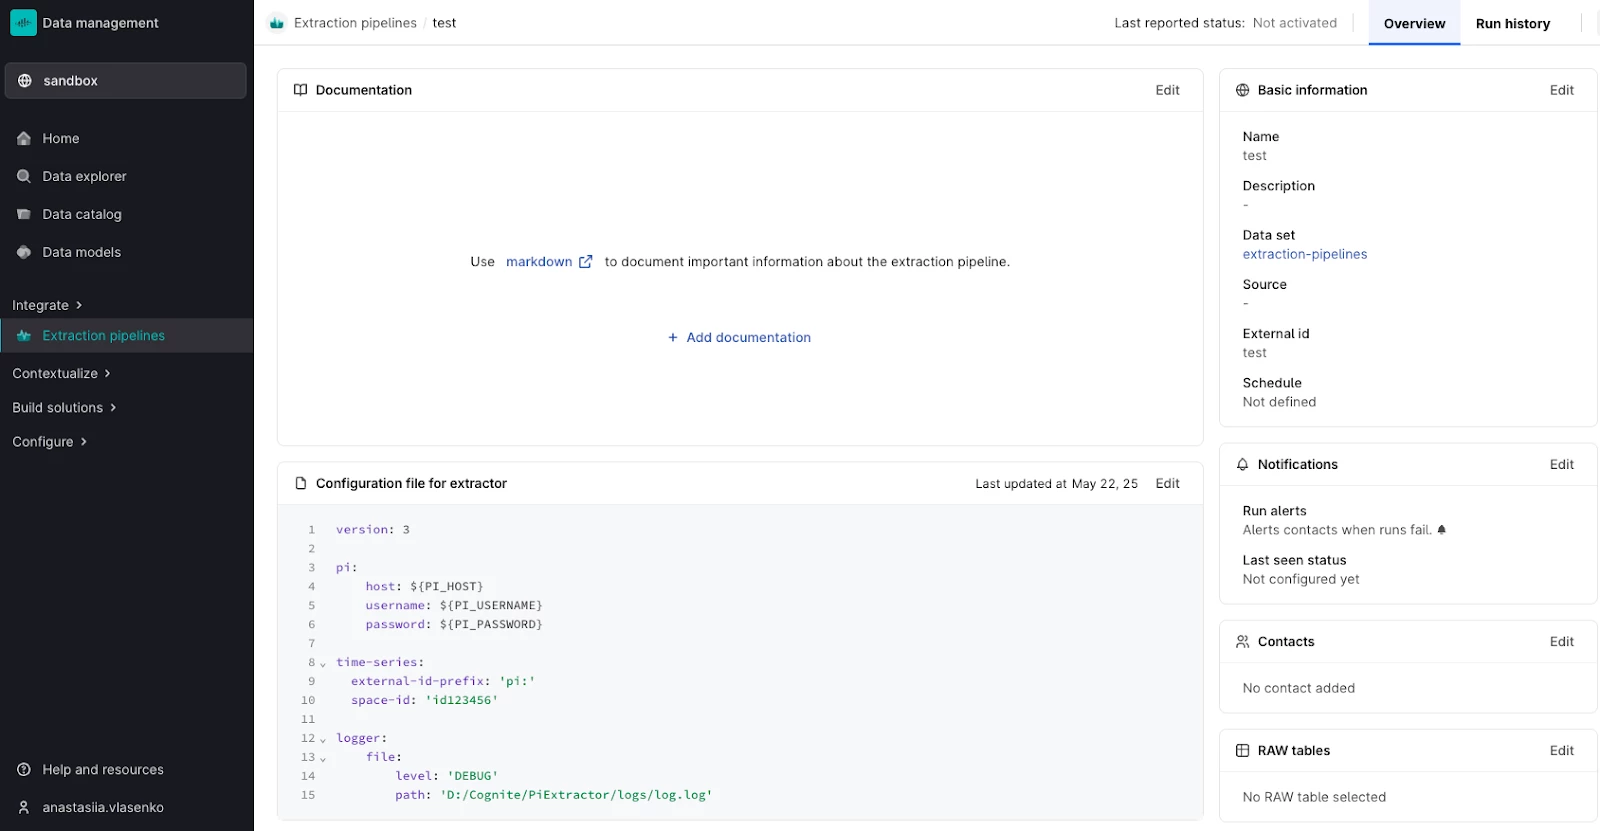
- Create the pipeline. Note down its external ID (can be found in
Basic informationtab in the top right corner).
5. Creating a remote configuration file
Now that you have established that the local configuration file works and have created an extraction pipeline, it is time to set up a remote configuration file. First, navigate to config.yml on your VM. It should only contain the following:
type: remote

version: 3

cognite:
   project: ${COGNITE_PROJECT}
   idp-authentication:
      tenant: ${COGNITE_TENANT_ID}
      client-id: ${COGNITE_CLIENT_ID}
      secret: ${COGNITE_CLIENT_SECRET}
      scopes:
         - ${COGNITE_SCOPE}

extraction-pipeline:
   pipeline-id: pipeline_external_id
Note that we have added type and extraction-pipeline sections to the file.
Open the extraction pipeline created in the previous section and press Create configuration.
Place everything that is not already in the new version of config.yml (in our case logger, pi, time-series and extractor sections) in the configuration in extraction pipeline. Check that the data is coming into CDF. Once the extractor is connected to the extraction pipeline, you will also be able to view Run history for more details. If you would also like to go further and set up notifications or play with parameters, refer to the documentation.
Ta-da! Now you have set up PI extractor on a Windows VM and created an extraction pipeline in CDF to monitor it.
6. Creating metrics for the extractor
Metrics allow you to monitor extractor health and performance. A data engineer can configure the PI extractor to use Prometheus. If you've enabled the metrics section, the extractor uploads metrics to the configured push gateway or server. Gateway needs to be set up by separately. .
See an example of pushing metrics to server below:
metrics:
   server:
      host: ${IP_ADDRESS}
      port: ${PORT}
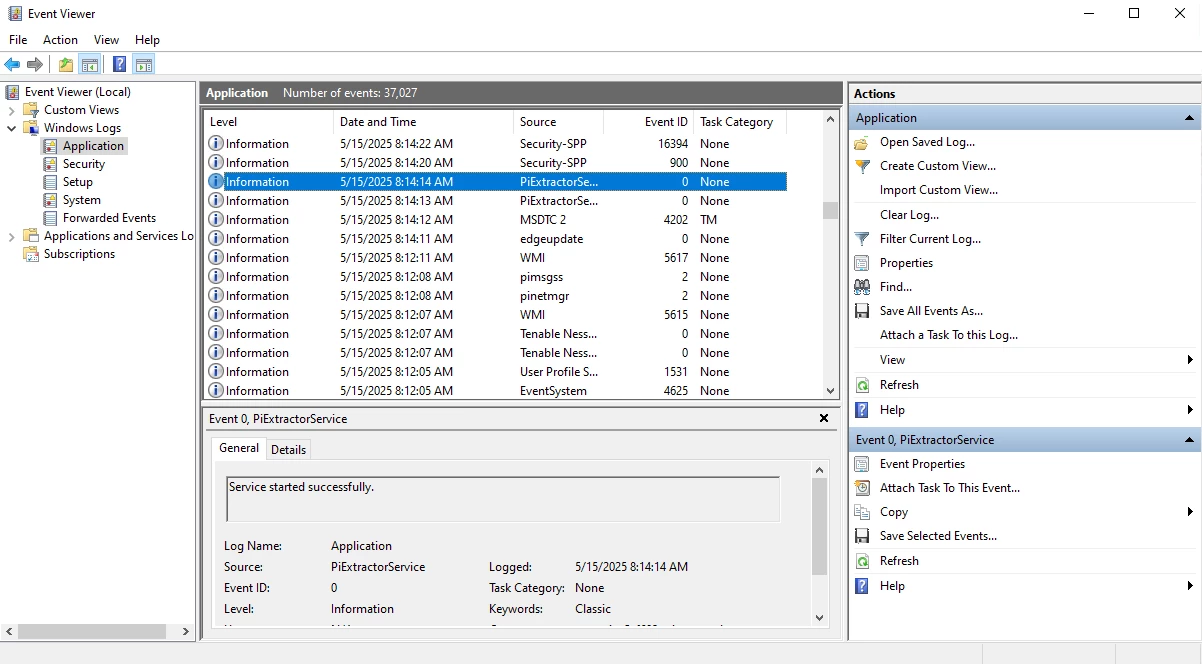
7. Debugging
- If you are not able to see logs for the extractor, try checking
Event Viewer. There you may be able to find more information on potential issues.
- If you would like more detailed logs, change the logger parameter of the configuration. The most detailed level is Verbose.
- More information about the ingested timeseries can be found in the data model called
Cognite extractor extensions. This can be useful, for example, when configuring anexclude-attribute-valuesfilter or if you want to find what attributes are present for the timeseries. TheextractedDataproperty from viewCogniteExtractorTimeSerieswill show the attributes. An example of how to exclude string timeseries is given below.
extractor:
   exclude-attribute-values:
      - key: "pointtype"
        value: "String"
