Hi! I’m Dilini Fernando from Cognite! This is my first post, and I am super excited to share a how to guide on Cognite’s DB extractor. This post is targeted to folks who have not used the DB extractor before and wish to extract data from popular tabular databases like MySQL, Oracle, and PostgreSQL databases and ingest it to CDF.
The post contains three major steps. The first two focus on setting up a database and ODBC driver, and the third step focuses on running the Cognite DB extractor. You could skip steps that are not required for you. For example, if you already have a database setup, you could skip the first step.
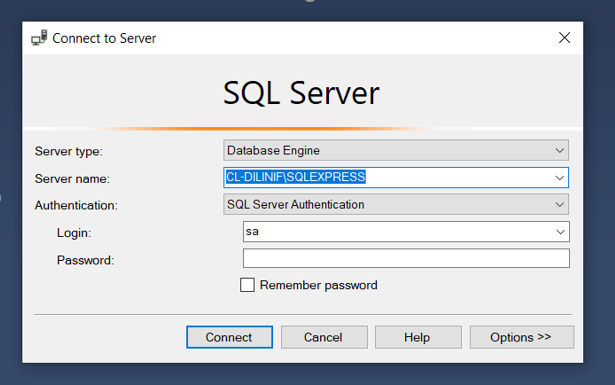
Connect SQL Server Management with SQL server 2019.
Open SQL Server Management and select the Authentication as SQL Server Authentication. Give the Login name and password. Remember the Serve name and password to login into SQL server.
Create Database and tables in SQL Server 2019. (We are considering the SQL Server as our Source System.)
To create Database you can follow this documentation.
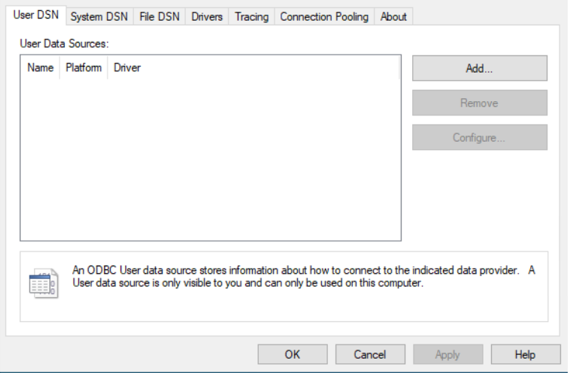
Open the 64bit ODBC driver and Click the Add button.
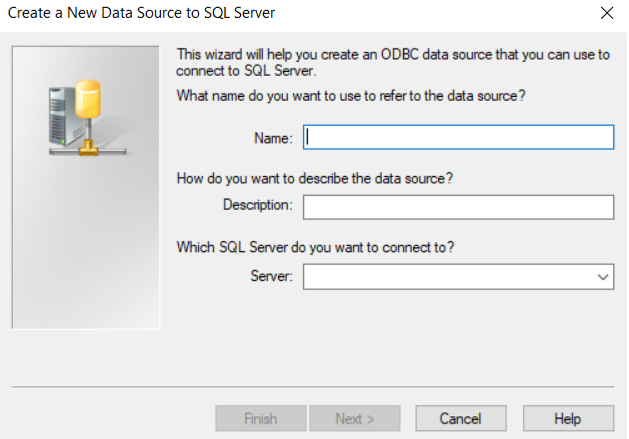
Select the ODBC driver as SQL Server then enter values for Name and select the Server from the dropdown.
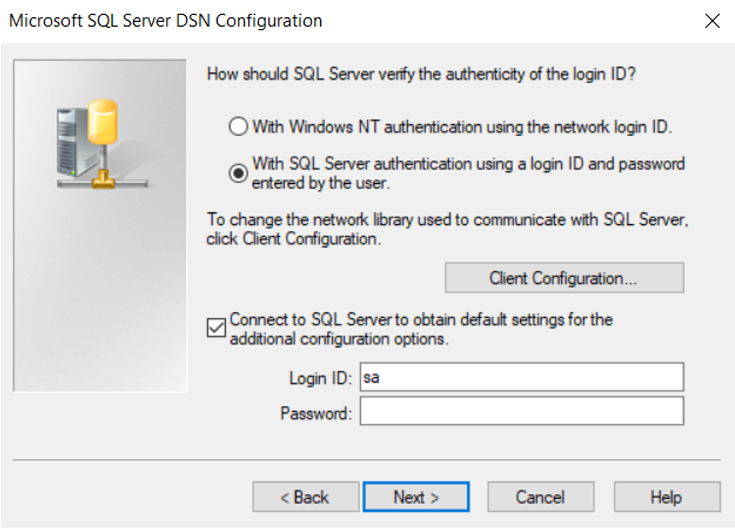
Select the login authenticity as follows then enter the SQL server Login and password.
Click next and click Finish.
Step 3: Download the Cognite DB extractor
From the Fusion application download the DB extractor windows executor.(Fusion->Integrate->Extract Data->Cognite DB Extractor.)
Place the downloaded DB executer in a separate folder and inside the same folder place the config.yml file. a. The below fields need to be filled in order to execute the config file.
databases:
Name : Name of the Database
connection-string: " DRIVER={ODBC Driver 17 for SQL Server};Server=SQL Server name;Database=Databasename;Trusted_Connection=Yes; "
To generate the logs for extractor. Create a folder inside the extractor folder and give the path with the name of the folder.
logger:
  file:
    level: INFO
    path: Folder name/error.log
Schedule the DB extractor.
a. Go to the Task Scheduler app via the Start menu.
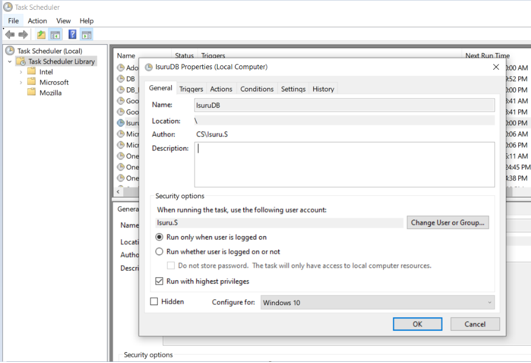
Create a windows scheduler task and tick the Run with highest privileges box.
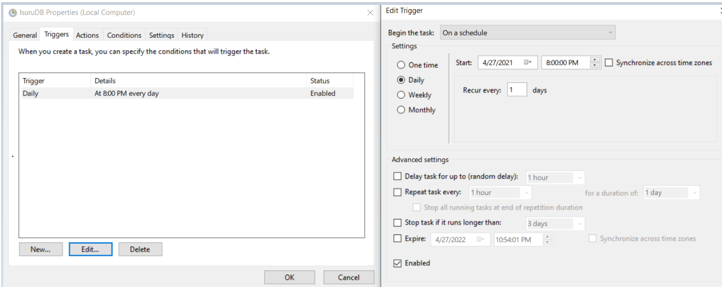
c. In the Triggers tab, configure the execution time and period of the job.
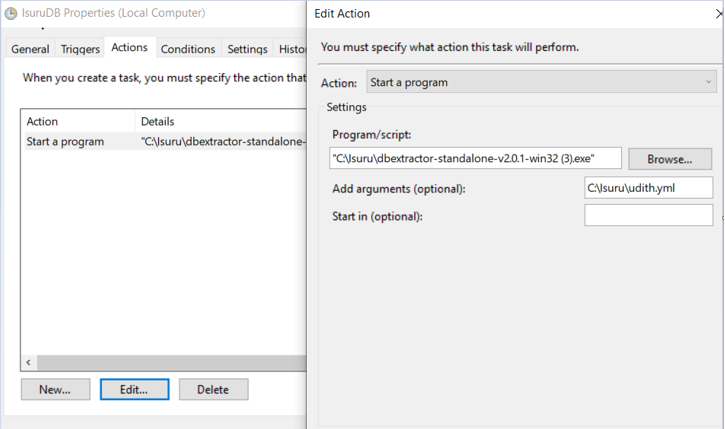
In the action tab, provide the path to the script (in the Add arguments box) and .exe file (in the Program box) for the scheduler e. The DB extractor is ready to run with the scheduler.
If you have made it till here. Thank you so much! Please let me know in the comments how was your experience of using the DB extractor was. If you faced any issues or got stuck somewhere, do let me know.
Now a bonus step 🤩: Wish to run Run DB extractor as a Docker container
To run the DB extractor as a Docker container, you must first create a Docker image containing the ODBC drivers for the database system(s) you wish to extract from. As an example, we will create an image to use with PostgreSql databases. First create a dockerfile:
FROM eu.gcr.io/cognite-registry/db-extractor-base:2

# Install your ODBC drivers here. For example, for PostgreSql:
In this example, we have saved it as postgres.Dockerfile, but you can call it whatever is suited for your application. Now build the docker image:
Replace postgres.Dockerfile with the name of the dockerfile you created earlier, and db-extractor-postgres with the tag you want to refer to this docker image as. You can now create a docker container running this image:
docker run <other options in here, such as volume sharing and network config> db-extractor-postgres.
Again, replace db-extractor-postgres with the tag you chose in the previous step.


 Check the
documentation
Check the
documentation Ask the
Community
Ask the
Community Take a look
at
Academy
Take a look
at
Academy Cognite
Status
Page
Cognite
Status
Page Contact
Cognite Support
Contact
Cognite Support


 Please let me know in the comments how was your experience of using the DB extractor was. If you faced any issues or got stuck somewhere, do let me know.